

Did you know that the average home cook spends over 30% more time in a poorly designed kitchen? A poorly planned layout can make cooking stressful—running back and forth, juggling tasks, and bumping into things slows everything down. Yet, despite this, many kitchens still miss the mark.
At first glance, the reasons seem practical: maybe it’s hard to change the original layout, maybe high or low counters are desired, or maybe people want to squeeze the most out of the space.
But the real issue is simpler—many of us just don’t give enough attention to the layout itself. A smart layout sets the stage for everything else, making cooking smooth, enjoyable, and stress-free.
<h3>Prioritize the Wash-Cut-Cook Flow</h3>
The three core actions in the kitchen are washing, cutting, and cooking. So a smart layout starts with these zones in sequence: wash → prep → cook.
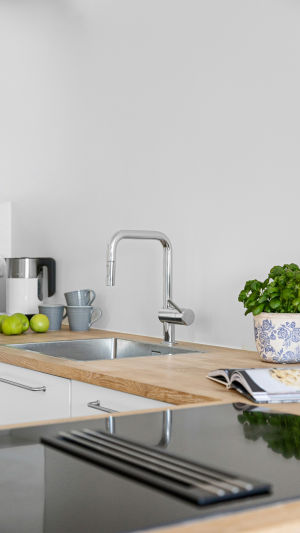
<b>Washing Area:</b>
The sink area should be at least 55 cm wide for comfort. Ideally, a 70 cm sink with 80 cm of surrounding space makes washing veggies and dishes smooth.
<b>Prep Area:</b>
The prep zone should be roomy. While 60 cm is the minimum, 80–120 cm gives more freedom and makes prepping enjoyable.
<b>Cooking Area:</b>
This follows the stove size—typically 80 cm is sufficient.
No matter what, the dimensions of these core areas should always come first. Once they're set, additional spaces can be added for convenience.
<h3>Add a Draining and Serving Zone</h3>
<b>Draining Zone:</b>
After washing, dishes need space to drain. If there’s extra space beside the sink, reserve at least 30 cm for a draining basket. For small kitchens, a two-tiered rack can save space.
Alternative solutions include:
1. Roll-up Draining Rack: Rolls up when not in use, perfect for draining dishes or holding washed veggies and fruits. It can even double as a temporary cutting board support when counter space is tight.
2. Vertical Draining Rack: Placed above the sink, it saves space and holds more, though it may look a bit busier.
<b>Serving Zone:</b>
This is where cooked food gets plated. Keep at least 30 cm of counter space next to the stove to accommodate plates and bowls without crowding the pots. Once this is set, your kitchen is already highly functional.
<h3>Think About Fridge, Appliances, and Extra Storage</h3>
<b>Fridge Area:</b>
Position the fridge before the wash-cut-cook flow to form a smooth grab → wash → prep → cook sequence. Never squeeze a fridge into a tight space—it’s more convenient outside the kitchen if needed. For example, placing it in the dining area makes sorting groceries and grabbing snacks effortless.
<b>Appliance Area:</b>
If counter space allows, designate a zone near the serving area for small appliances. For tight spaces, build a vertical “appliance tower” or use shelves. The “golden zone” at mid-height should store frequently used appliances; upper and lower areas can hold less-used items. Appliances with moisture like rice cookers or kettles can be placed in pull-out drawers to protect cabinets. Built-in ovens and steam ovens can be safely stored at mid-height, and cabinets above 1.4 m can house less frequently used gadgets.
If kitchen space is extremely limited, appliances can even move outside to a sideboard in the dining room, making food prep more social and less isolating.
<b>Extra Storage:</b>
Begin with simple added cabinets or shelves in unused corners. A slightly more advanced approach adds extra counter space for prepping or holding appliances. The ultimate setup could even include a small pantry if the kitchen is large, keeping the home organized while providing ample storage.
<h3>Wrapping It Up</h3>
So, Lykkers, whether you’re planning a kitchen remodel or moving into a new home, start with the layout—it’s the backbone of every enjoyable cooking experience. By prioritizing the flow, storage, and workspace, you can transform cooking from a chore into a joy. Start sketching your kitchen layout today—your future self will thank you with smoother, stress-free meal prep!


